Veeva LIMS users can track stability study conditions and results as testing occurs or transcribe these results after receiving them from an external lab. Veeva LIMS uses Lab Study Design records to serve as templates for creating Lab Study records. These templates include timepoints, storage conditions, storage orientations, testing methods, and specifications for ease of creating multiple studies for the same product. As a part of the Lab Study Design, one or more Lab Study Timepoint Designs are also created.
Creating a Lab Study Design
Prior to creating a Lab Study Design, you should already have the relevant Spec Data, Test Definition(s), and Sample Plan(s) created.
To create a Lab Study Design:
- Navigate to Stability > Study Design and click Create.
- Enter a Name.
- Choose whether to Use Quantity Tracking. This allows you to track the quantity of product that needs to be stored and how much needs to be pulled from storage at each Timepoint throughout the duration of the study.
- Choose whether to Use Draft Spec Data. When set to Yes, if there are Draft version(s) of Spec Data where an Effective version exists, the system uses the Draft version for quantity planning and to display tests and quantities. This field has no impact when the Spec Data only has a Draft version.
- Click Save.
- On the Lab Study Design record’s details page, expand the Lab Study Design Timepoints section and click Create.
- Select the Spec Data that should apply to the Lab Study Design Timepoint. You cannot choose Spec Data that is not Stability Study Spec Data for non-initial Timepoints.
- Enter the Time Stored. This dictates the length of time the samples are stored and thus, the Timepoint’s length.
- Select the Time Stored Units.
- Optional: Enter a Lower Pull Window. This represents the amount of time allowed for a pull to be completed ahead of the scheduled pull date per the Timepoint’s Time Stored. For example, in a study initiated on April 1, the 1M Timepoint has a Time Stored of 1 month, which makes the scheduled pull date May 1. A Lower Pull Window of 1 day allows the pull to be completed as early as April 30.
- Optional: Select Lower Pull Window Units.
- Optional: Enter an Upper Pull Window. This represents the amount of time allowed for a pull to be completed after the scheduled pull date per the Timepoint’s Time Stored. Continuing the example above, if the study’s 1M Timepoint has an Upper Pull Window of 2 days, the pull can be completed as late as May 3.
- Optional: Select Upper Pull Window Units.
- Select whether the timepoint is the Initial Timepoint.
- Select whether to Prevent Sample Creation. If you choose Yes, LIMS will only create samples via Aliquot Actions (Stability Pull(s)) for collection of stored material in the Stability Chamber(s). If you choose No, samples will log as defined in the Sample Plan.
- Enter any other necessary details.
- Click Save.
- Repeat the above steps beginning with step 4 for any additional timepoints required.
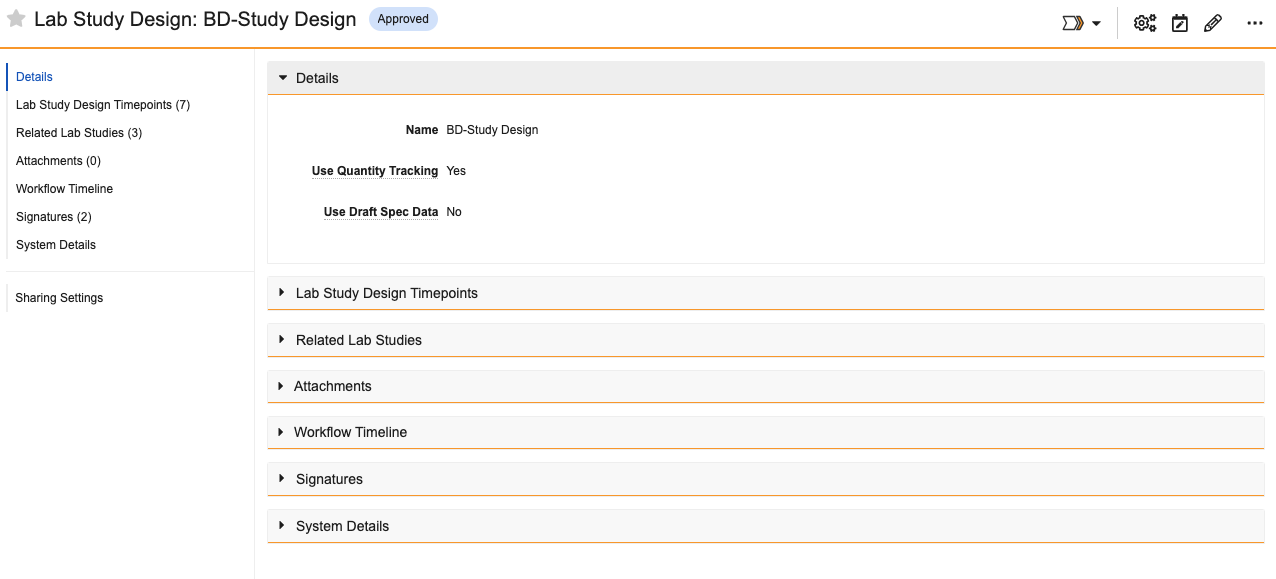
On the resulting Lab Study Design record page, you can add and modify Lab Study Design Timepoints as needed. Select Actions > Review Study Overview to view the full overview.
![]()
Once a Lab Study Design has been created, it must be reviewed and approved before it can be used to generate new Lab Study records. During review, the Spec Data Version Check can be initiated. This is an action (either an entry action in the record’s lifecycle or manually started by a user via Actions > Spec Data Version Check) that verifies that each Spec Data record associated to the Timepoints has an Effective version.
About Pull Windows and Pull Compliance
When creating Lab Study Design Timepoints, the Lower Pull Window and Upper Pull Window represent the amount of time before and after the Timepoint’s Scheduled Start Date during which the sample should be pulled to be compliant. Enter a number in the Lower Pull Window field and use the Lower Pull Window Units drop-down to define the unit of time. This determines how many days before the Scheduled Start Date the pull may be completed. For example, if you set Lower Pull Window to 3 and select days in Lower Pull Window Units, the sample can be pulled 3 days before or after its Scheduled Start Date and still be compliant. Likewise, enter a number in the Upper Pull Window field and select a unit in the Upper Pull Window Units drop-down to set the amount of time after the Scheduled Start Date the pull may be completed.
LIMS uses your entries along with the Scheduled Start Date to automatically calculate the Earliest Pull Date and Latest Pull Date on each Lab Study Timepoint record. When the sample is eventually pulled, LIMS also automatically sets the Pull Compliance Status field, which Stability Managers can use to easily track whether the sample was pulled within the allowed window. The Pull Compliance Status can be set to the following values:
- Within Schedule: The sample pull date was on or after the Earliest Pull Date and on or before the Latest Pull Date.
- Early: The sample pull date was before the Earliest Pull Date.
- Late: The sample pull date was after the Latest Pull Date.
Generating a Lab Study
To create a Lab Study:
- From your approved Lab Study Design record, select Actions > Generate Lab Study.
- Enter a Name for the Lab Study. If you do not enter a name, the Lab Study will have the same name as the Lab Study Design.
- Click Generate. The system automatically sets you as the Owner of the Lab Study.
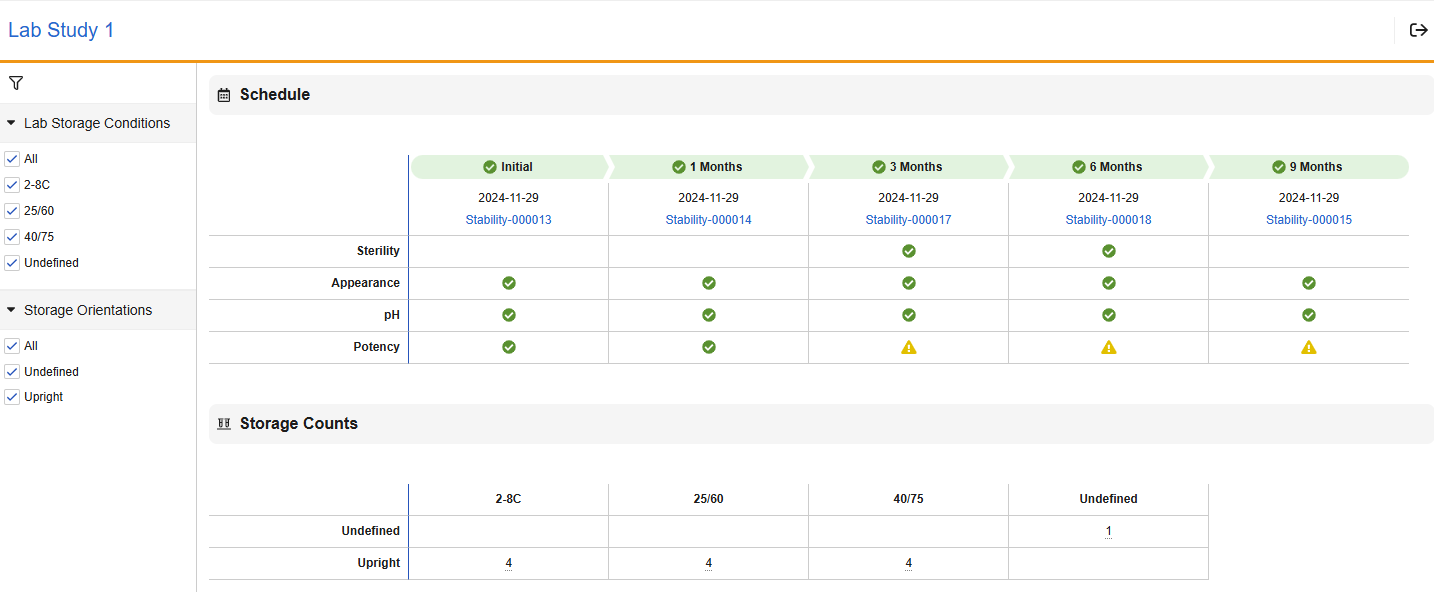
On the resulting Lab Study record page, you can add and modify Lab Study Timepoints as needed. Select Actions > Review Study Schedule to view the full schedule.

In the TESTS table, the first column shows the Initial Timepoint, and the following columns show any subsequent Timepoints. For each Timepoint, the label shows the Timepoint itself and the associated Spec Data below. Each row represents a scheduled Test.
Click the Exit icon in the upper right to close the schedule.
To begin the Lab Study:
- Select Start Workflow > Initiate Lab Study.
- Optional: Enter a Start Date. If you leave this field blank, it defaults to the current date.
- Click Start.
Initiating the Lab Study performs the following actions:
- Sets the Study Start Date
- Sets Scheduled Start Dates on all Timepoints
- Sets the Earliest Pull Date and Latest Pull Date on all Timepoints with a Pull Window available
- Initiates any Initial Timepoints
- Sets the Date Initiated
- Sets the Spec Data field with the Spec Data version at timepoint initiation
- Generates the Spec Execution for the Initial Timepoint
- Sets the Study information on the Spec Execution
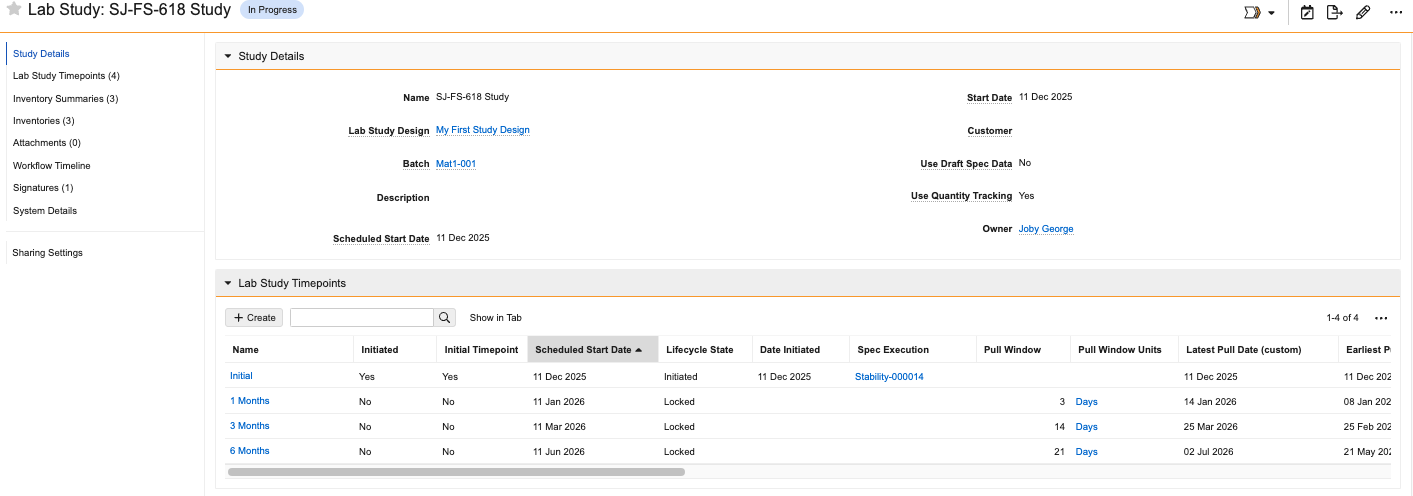
Once the Lab Study has been initiated, you can expand the Lab Study Timepoints section of the study’s record details page to view a summary that includes the initiation date, scheduled dates for each Timepoint, and related Spec Executions.
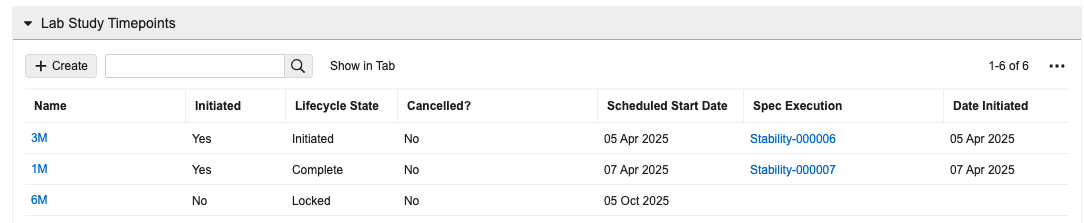
You can also initiate additional Timepoints by selecting Actions > Initiate Lab Study Timepoint in the Timepoint’s cell within the Lab Study Timepoints section of the Lab Study record’s details page. Initiating a Timepoint creates a Spec Execution for it based on its Spec Data and relates it to the Batch associated with the Lab Study.
Note: For Initial Timepoints, the Spec Execution is not initiated automatically, so you must do that manually.
Veeva LIMS automatically initiates Timepoints once their scheduled start dates are reached via the Lab Study Timepoint Initiation job. This job does not initiate a Lab Study Timepoint if it is not Locked, or if the Lab Study is in Revision.
As a Stability Study progresses, the Summary shows the results for all Timepoints that have results, including any exceptions.
Exporting Stability Data
If configured, users with the correct permissions can export the data from a Lab Study to an Excel or CSV file by selecting Actions > Export to Excel or Export to CSV.